
The mechanical bench includes a linear driving device, a rotating driving device, a displacement measuring device, a test bench support, a specimen fixture, and so on.
1. Reference standard:
QC/T 648-2015 "Automotive Steering tie rod assembly performance requirements and bench test methods"
QC/T 1021-2015 "Automobile Independent suspension ball pin assembly performance requirements and bench test Methods"
GB/T 14525-2010 corrugated metal hose technical conditions
Technical specification
The equipment in this scheme is tested for the following items:
Triangle arm swing (including ball head swing and rotation)
Ball pin performance test (including swing moment, rotating moment, maximum swing Angle, axial stiffness, radial stiffness)
Metal bellows
Engine rubber support
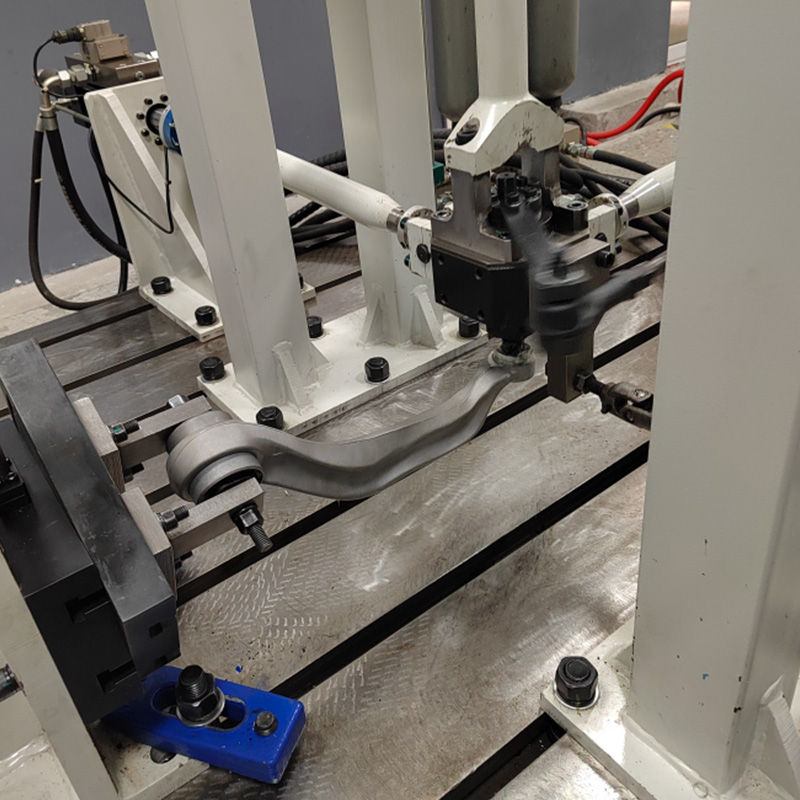
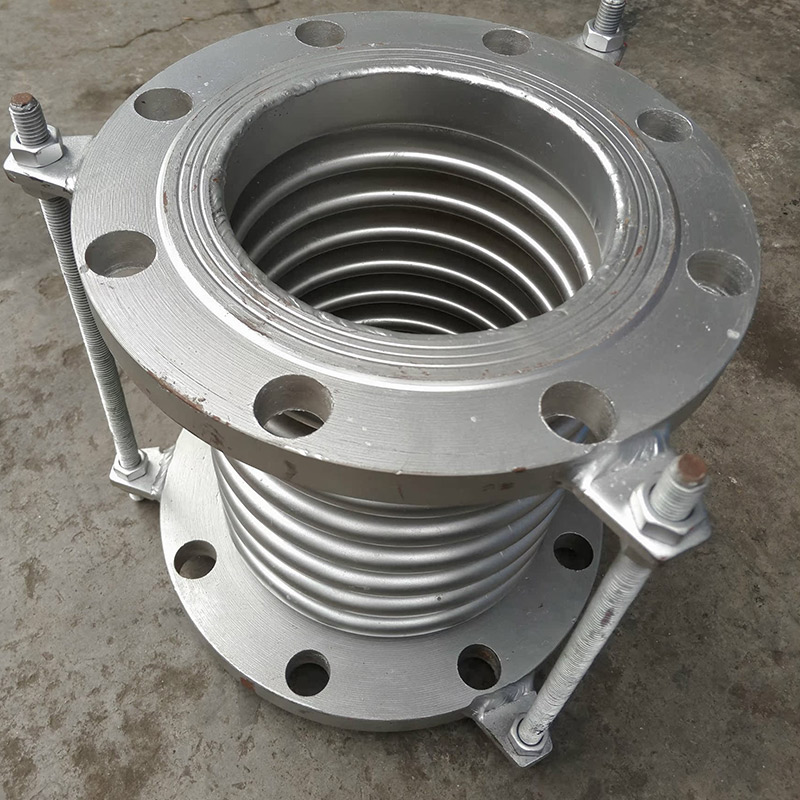
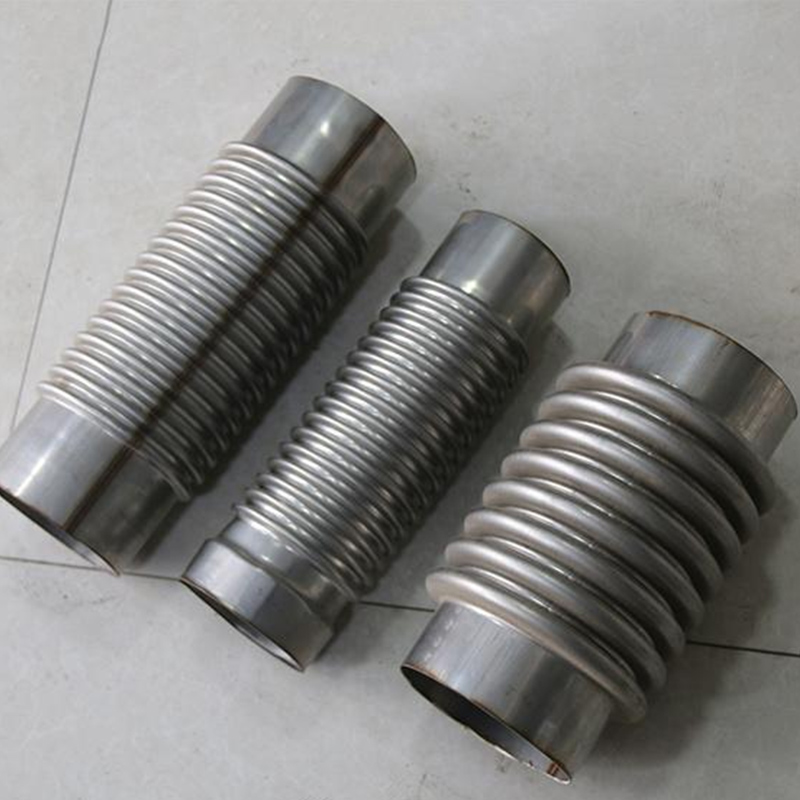
2. Product details
| No. | Name | Name | Specification&Model | Brand | Quantity (set) |
| 1 | Linear loading system | Radial loading servo actuator cylinder | Loading force 25KN, stroke ≥±50mm | Jinan beacon | 2 |
| Axially loaded servo actuator cylinder | Loading force 25KN, stroke ≥±120mm | Jinan beacon | 1 | ||
| servo valve | FF series | China Aviation 609 Institute | 3 | ||
| Tension pressure measuring sensor | Measuring range ≥25KN, accuracy 0.05%fs | entrance | 2 | ||
| displacement sensor | TIM series | NOVO | 3 | ||
| Connect Accessories | Non-standard customization | Jinan beacon | 3 | ||
| 2 | Rotary loading system | Rotating mechanism | Non-standard customization | Shanghai Huayuan | match |
| Guide device | Non-standard customization | Shanghai Yichen | 1 | ||
| Angle measuring device | Measuring range ≥42°, accuracy: 0.1° | Jinan beacon | 1 | ||
| Connecting attachment | Non-standard customization | Jinan beacon | 1 | ||
| 3 | Clamp | Durable triangular arm fixture | Non-standard customization | Jinan beacon | 1 |
| 4 | Machining Accessories | Equipment base | Non-standard customization | Jinan beacon | 1 |
| connector | Non-standard customization | Jinan beacon | 1 | ||
| 5 | Control systems and computers | Distribution box | Non-standard customization | Jinan beacon | 1 |
| Servo controller | SuperTest8005 | Jinan beacon | 1 | ||
| Computers and monitors | i5, 8G memory,256g hard disk 1T, 21 inch LCD display | HP | 1 | ||
| Handling cabinet | 16 "standard computer cabinet | Imitation witagram | 1 | ||
| 6 | Accessories | Screws, cushion iron, etc | Standard part | Domestic quality | 1 |
| Cables, connectors, switches, seals, etc | Meet equipment requirements | Jinan beacon | 1 | ||
| 7 | He Water Pressure System | The maximum pressure is 15mpa | Driving medium water | Jinan beacon | 1(match) |
| 8 | High-temperature System | The maximum temperature is 800° | Tubular high temperature furnace | Jinan beacon | 1(match) |
2.1 Using Environment Parameters
Atmospheric pressure: 85 ~ 120kPa;
Working environment temperature: 2℃ ~ 35℃;
Working environment humidity: 20% ~ 95% RH;
Equipment control system ambient temperature: 5~40℃;
2.2 Equipment Infrastructure
2.2.1 Power Distribution Requirements
Power Supply:
Three phase, AC380∨ (+15%, -10%), 50Hz±2%;
Single-phase, AC220∨ (+15%, -10%), 50Hz±2%;
Total power of the equipment: 5KW (excluding hydraulic oil station)
Wiring requirements: The power supply should not be affected by power transients caused by other devices on the circuit; The power interface is within 5 meters of the device
2.2.2 Cooling water Requirements
10m^3 oil cooler
2.2.3 Compressed air Requirements
It isn't necessary
2.2.4 Basic Requirements
The equipment is placed directly on the laboratory floor, and the laboratory floor can meet the weight requirements;
2.3 Main Technical parameters
2.3.1 Device size parameters
The equipment covers an area of about 2500mm×2700mm
Weight: 2.5 tons;
2.3.2 Triangle arm endurance loading test parameters
Radial loading force vertical direction attack 2 25KN Control accuracy: 0.5%FS frequency: 0~5HZ
Radial displacement ±50mm control accuracy: 0.2%FS
Rotation Angle ±40° Accuracy: 0.1° Frequency: 0~5HZ
Axial loading force ±25KN Control accuracy: 0.5%FS Frequency: 0~5HZ
Axial displacement ±120mm control accuracy: 0.2%FS
System test accuracy: ≤±0.5%FS
2.4 Mechanical bench structure
The mechanical bench includes a linear driving device, a rotating driving device, a displacement measuring device, a test bench support, a specimen fixture, and so on.
The following is a diagram of the loading structure,
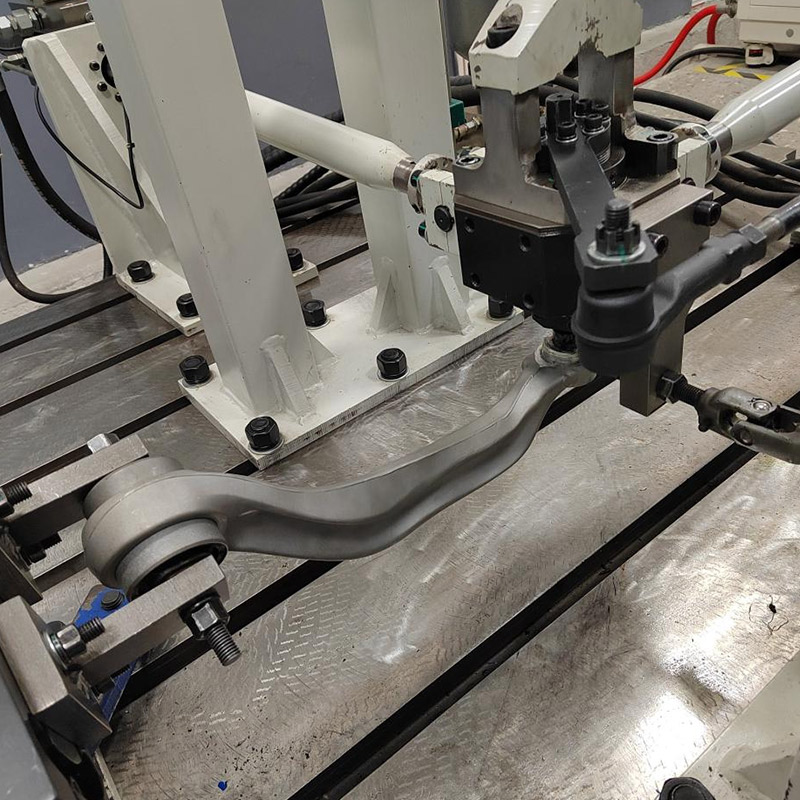
FIG. 1 Schematic diagram of loading triangle arm
2.4.1 Test bench rack
The frame of the test bench supports the rest of the test bench, which includes two parts: the frame and the panel of the test bench. The whole frame is welded with thick rectangular steel, which has high rigidity and stability. The driving force is enclosed in the test bed panel, with high rigidity and strength.
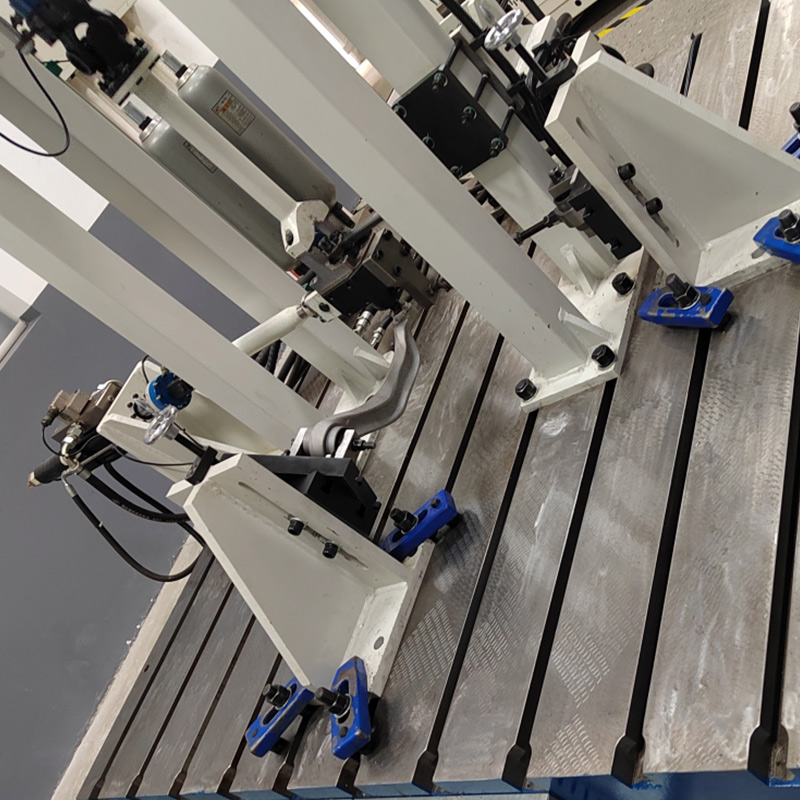
(The picture is for reference only.)
2.4.2 Linear drive device
The linear driving device includes servo cylinder, servo valve, tension pressure sensor, displacement sensor and other parts. It can realize the linear loading of the specimen in three directions XYZ at the same time, and it can measure the maximum axial displacement, maximum radial displacement, axial stiffness and radial stiffness together with the displacement measuring device. The accuracy of displacement measurement can be guaranteed by the clever structure design.
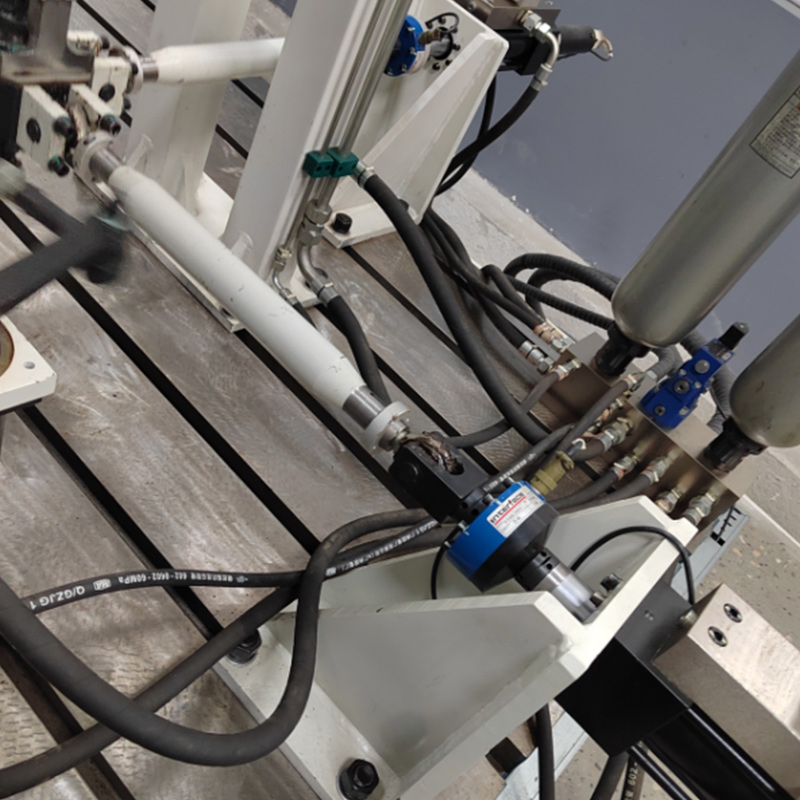
(The picture is for reference only.)
2.4.3 Rotate (swing) the drive device
The rotary drive device includes several parts, such as actuator, servo valve, Angle measurement sensor, etc., which can realize the test of the maximum swing Angle.
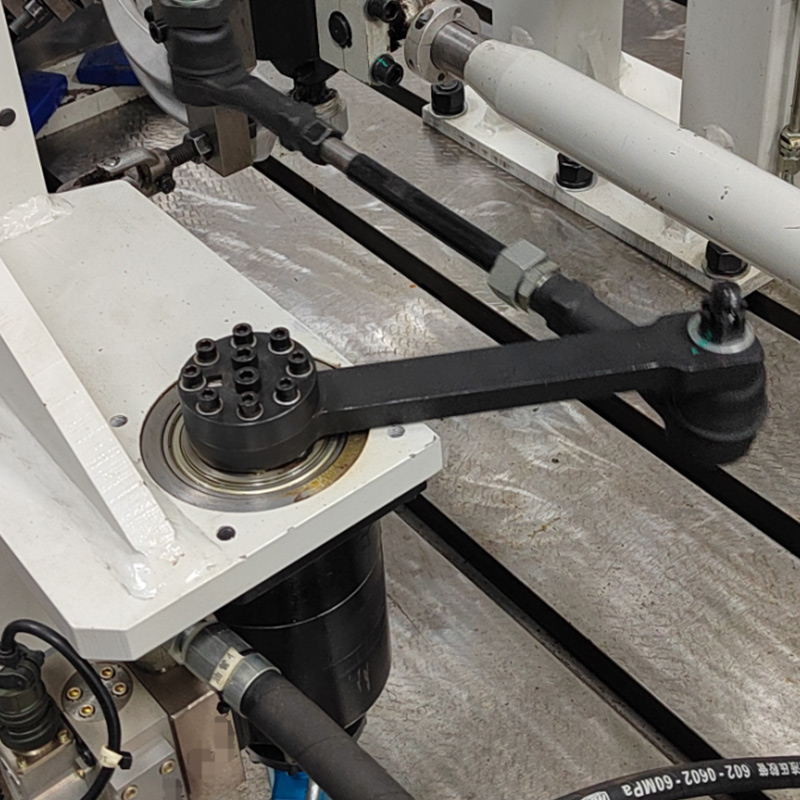
(The picture is for reference only.)
2.4.4 Specimen fixture
The test fixture is used to connect the test piece to the equipment to realize the corresponding test item. The specific size is determined according to the sample size. The similar structure is as follows: general base, replace the corresponding ball head fasteners.
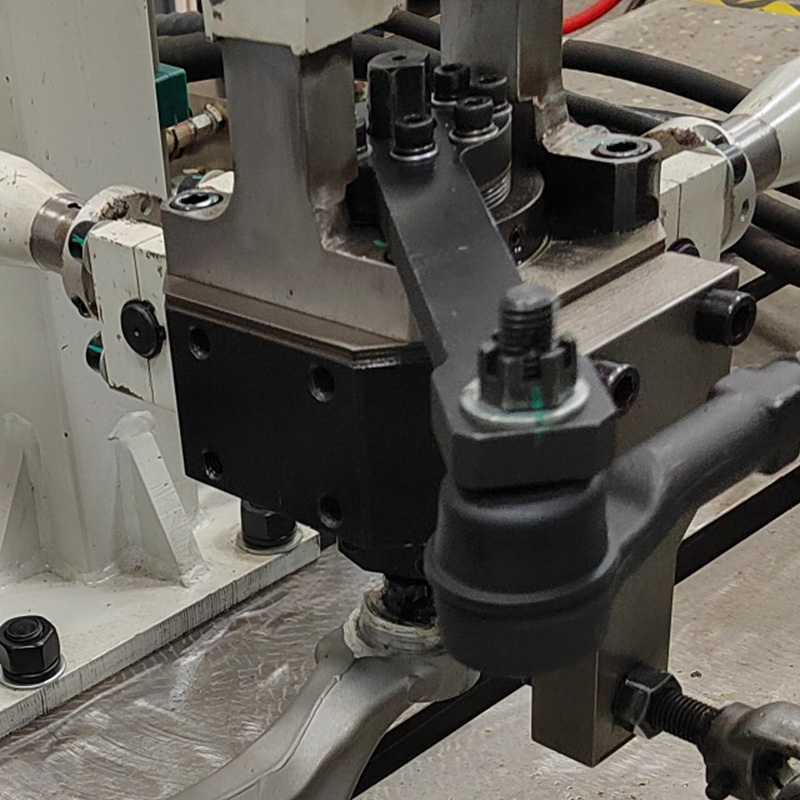
2.5 Electrical and computer control system
Software features are as follows:
1) With beautiful, convenient human-machine dialogue interface;
2) Change the test conditions and update the test parameters as needed;
3) Can realize dynamic display and record condition parameter values and measurement parameter values;
4) There is a database, the measured data can be stored in the database, the data in the database can be queried.
5) Can automatically record the relationship between load and displacement in the whole process of loading and unloading of axial stiffness and radial stiffness test, can automatically record the relationship between rotation torque and rotation Angle, swing torque and swing Angle, and can automatically record the measured force curve of axial and radial displacement.
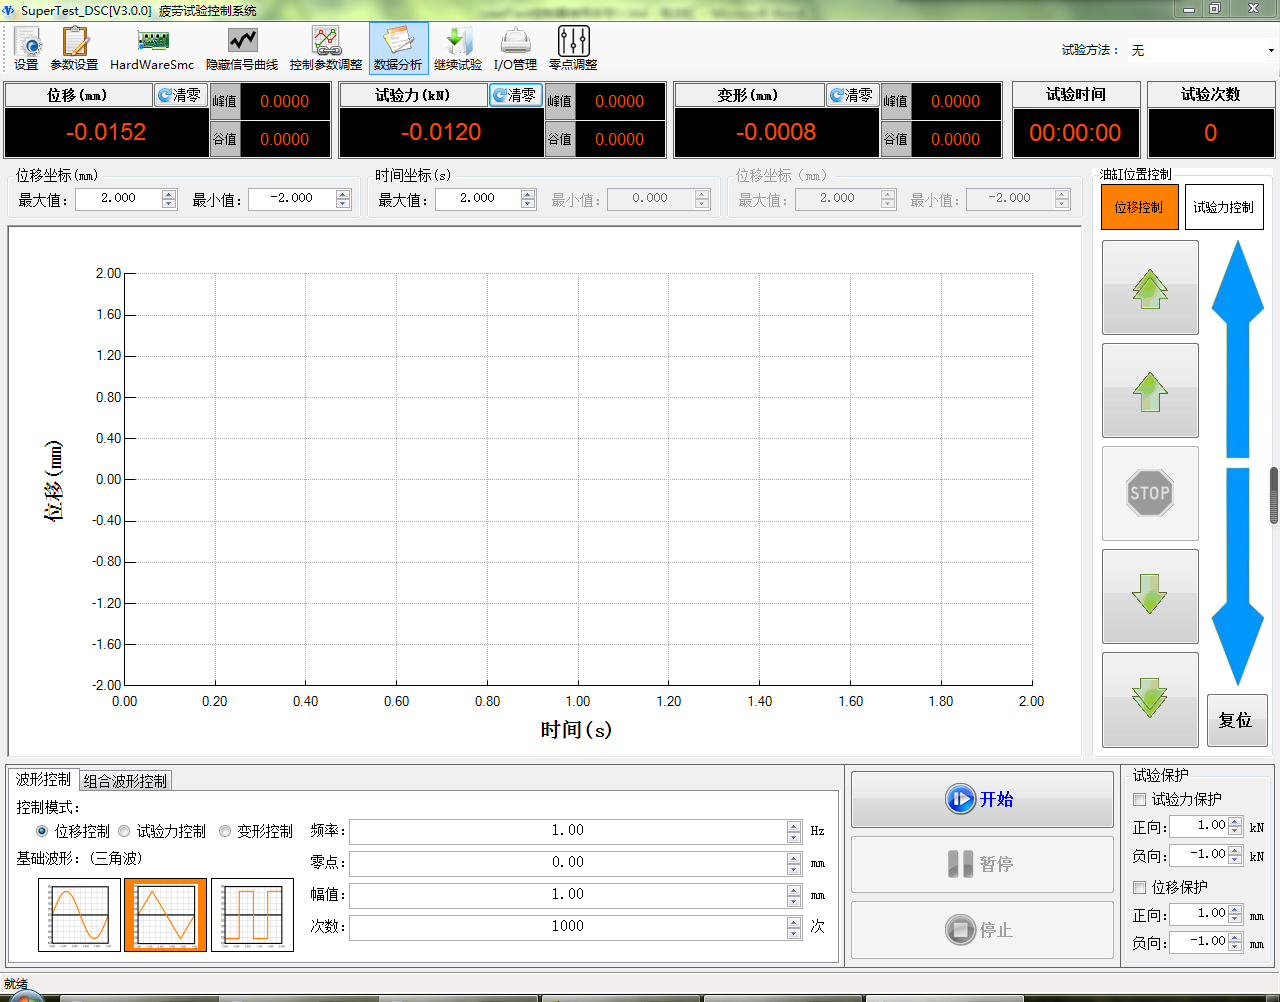
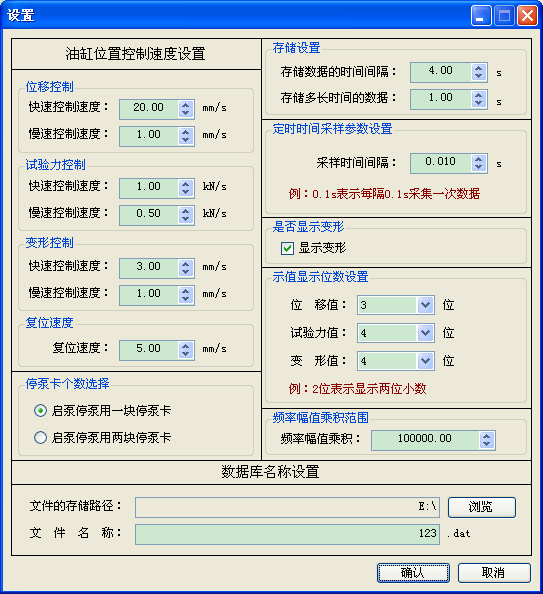
Figure 3 Main interface of control software
3. Spare Parts
Table 1 Spare parts list
No. Name Specifications/Model Quantity (Set) Remarks
1 Screw Meets device requirements. 5 With nuts
2 Hex socket screws meet device requirements 10
3 Hex wrench set of 8 1
4 Adjustable wrench Meet device requirements 1
4. Appearance of the device
4.1 Identification
Control buttons, display instruments, etc., have the necessary identification, easy to operate. Electrical components, terminals, pneumatic components, etc. have the necessary identification, and correspond to the drawings one by one, easy maintenance.