 |
 |
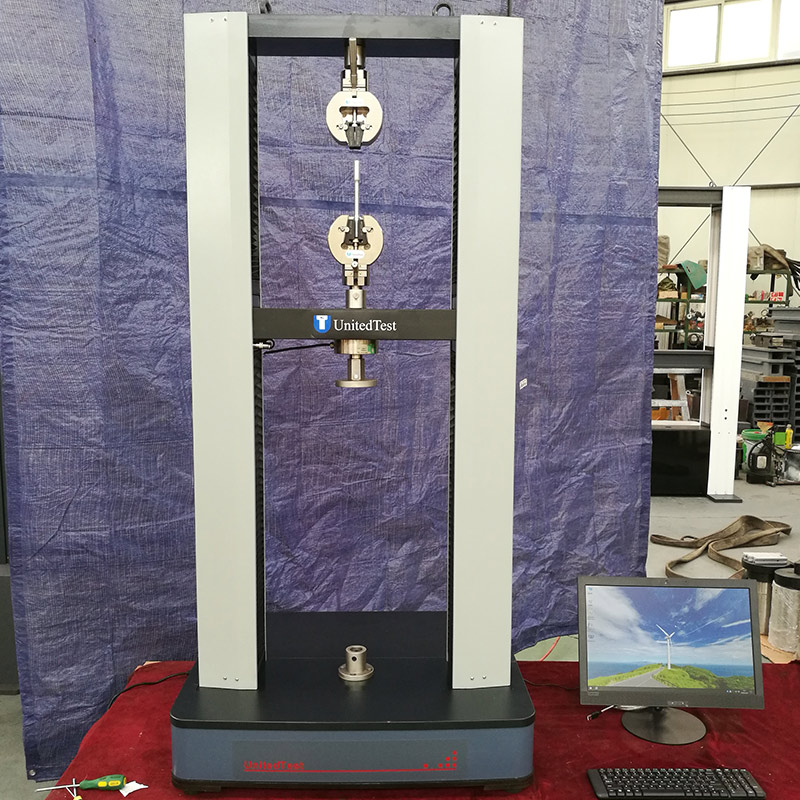
| Standard models |
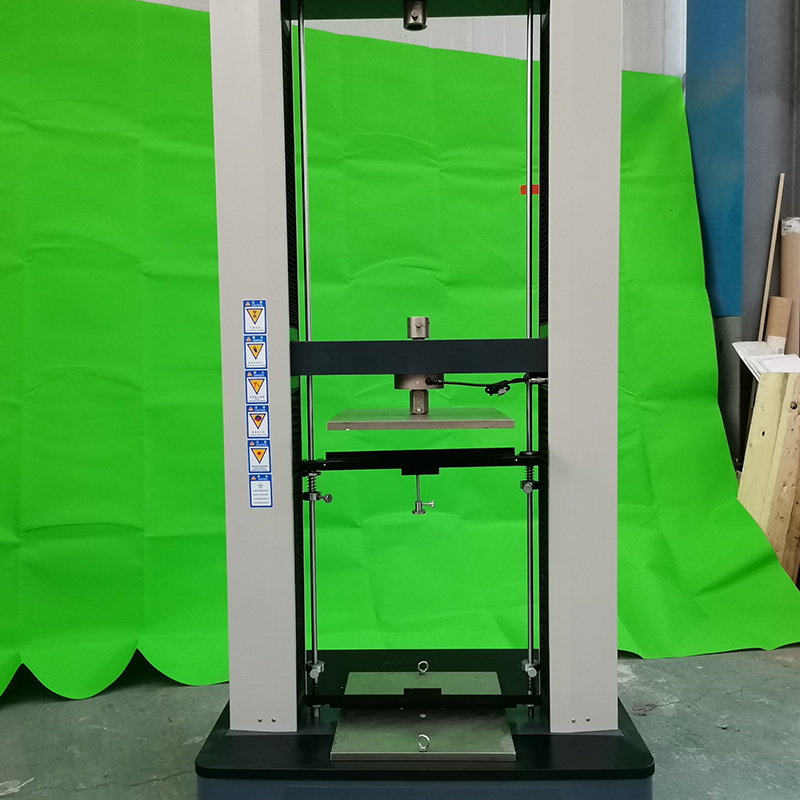
Widened models |
1. Equipment use:
The testing machine is suitable for tensile, compression, bending, shearing, stripping, tearing and other tests of metal and non-metal materials, such as: rubber, plastic, wire and cable, composite materials, plastic profiles, metal bars, plates, springs, components, etc. GB, ISO, JIS,DIN, ASTM and other test standards can be implemented, and test software can be edited according to user needs. It is a necessary testing instrument for quality inspection units, scientific research departments, colleges and universities, industrial and mining enterprises.
2. Measurement parameters:
1. Maximum test force: 10/20/30/50kN
2. Test force measurement range: 0.4%--100%.
3. Test force indication accuracy: better than ±1%
4. Test force resolution :1/500000
5. Beam displacement measurement accuracy: resolution higher than 0.0025mm
6. Deformation measurement accuracy: ±0.5%
7. Test speed range: 0.0002-500mm /min, stepless speed regulation

8. Speed control accuracy :±1%(0.0002~50mm/min); Plus or minus 0.5% (50 ~ 3500 mm/min)
9. Constant force, constant deformation, constant displacement control range: 0.2%-100%FS
10. Constant force, constant deformation, constant displacement control accuracy:
When the set value is <10%FS, the set value is within ±1.0%
When the set value is ≥10%FS, the set value is within ±0.1%
11. Deformation rate control accuracy: rate <0.05%FS is within the set value of ±2.0%
Rate ≥0.05%FS is within the set value of ±0.5%
12. Test space: A. Stretching space :1000mm B. Compression space :1100mm C. Width :450mm
13. Lower table: 450*250
14. Pressure disc size: φ100 mm
15. Power supply: single-phase,220V±10%,50Hz, power: 750W
16. Working environment: room temperature -35 ℃, relative humidity does not exceed 80%
17. Host size: 870×730×1750mm
18. Weight: 400 kg
3. Product configuration:
1, a set of host
2, Panasonic A7 full digital servo motor and servo driver; A suit of
3, high-precision load sensor; One 5kn/1kn/500N/200/ each
4, Hiwin precision ball screw; 2
5, photoelectric encoder (2500 lines, built-in); 1
6, fixture: meet the sponge/car seat required tooling 1 set (there are a variety of)
7, a set of three closed-loop measurement system, using force, displacement, strain and other control methods, the test process can be displayed in real time force-displacement, force-time, stress-strain and other test curves, and can automatically obtain the maximum load, tensile strength, elongation at break and other result parameters.
8, HP brand computer, 21 inch LCD monitor;
9, printer: HPA4 color inkjet printer;
10, special test software: can perform GB, ISO, JIS, DIN, ASTM and other test standards, fully open, powerful, easy to operate, free to provide upgrade software, and can edit the test software according to user needs.

4. Product functions and features:
1. Host computer
1.1 Full digital AC servo motor and servo driver, speed ratio up to 1:100,000; The system has high control precision, good stability, stable and reliable operation, fast response, low noise, and has overload, overcurrent, overvoltage, undervoltage, overheating, abnormal stop, fault alarm and other complete protection functions, and can adjust parameters according to different models and test types, so that the servo system runs in the best state, the use of servo system position control mode. The interface unit is digitized to overcome the zero drift and low speed instability caused by the speed loop.
1.2 Precision lead screw and precision deceleration mechanism drive, smooth transmission, low noise, no gap.
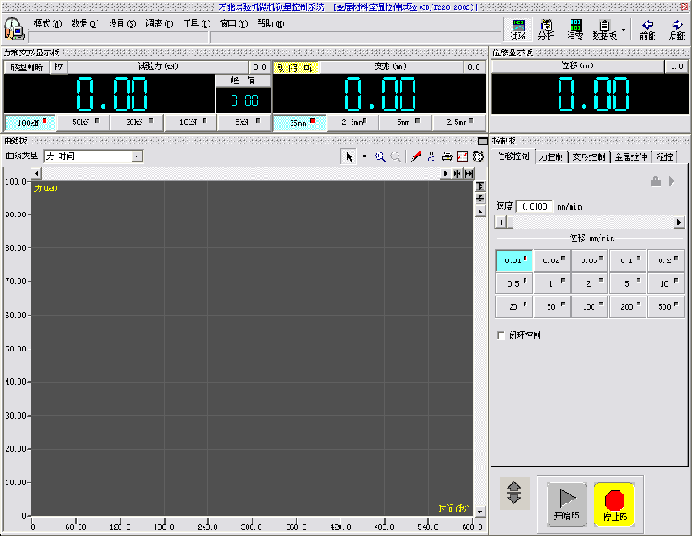
2. Measurement and control system, operating software and data processing system

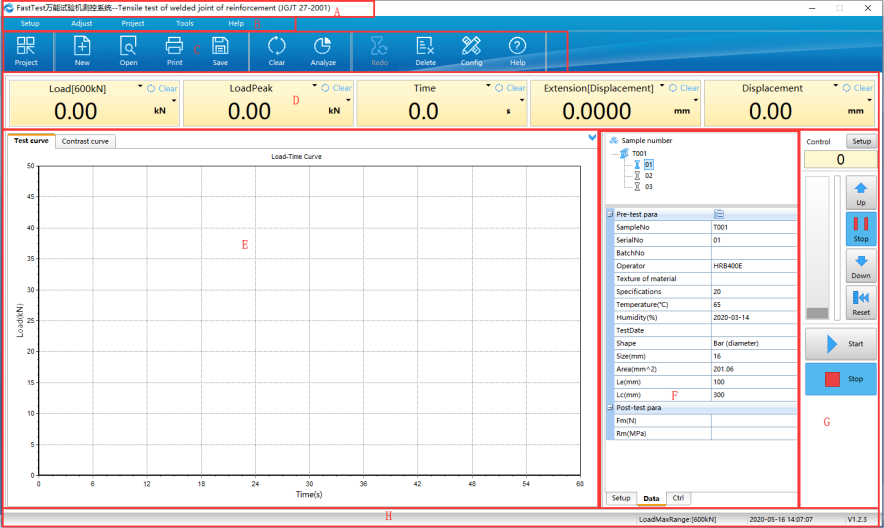
Software main interface
Tool column
It includes common options directly, with options for different machine.

Standard/Project: choose test standard.
New: set up new data.
Open: find data according to specific request.
Print: there are simple report, batch processed report, office report, choose as needed.
Save: any data modifying by user.
Clear: zero clearing all data of panels.
Analyze: it is used for manual analyzing test results.
Redo: do this test record again.
Config: set functional button or not.
Help: simple instruction of software.
Text: leading out original data to text file(optional closed).
Excel: leading out original data to Excel file(optional closed).
Delete: delete this record(deleted record is able to recovered).
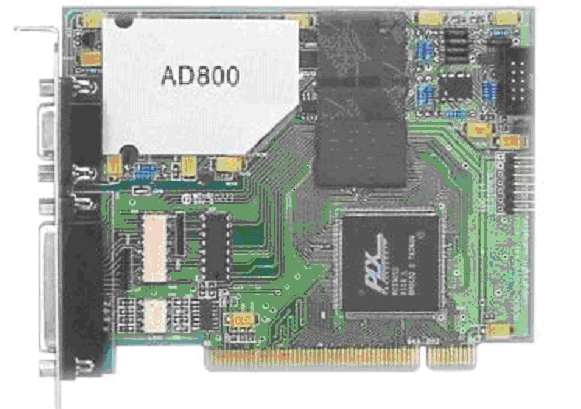
High-precision data acquisition board (24-bit A/D data acquisition) can achieve full digital adjustment, high-precision amplification and precise control (built into the computer), advanced chip integration technology, high-precision ± 300,000 code acquisition card, so that the sensor measurement accuracy to the extreme. It has the advantages of high integration, stability and reliability, and easy to use. The control software can automatically obtain the elastic modulus, yield strength, tensile strength, breaking strength and other conventional data, and can automatically calculate the force, stress, displacement, deformation and other data results at any specified point in the test process.
2.1 Automatic zero clearing: After the test starts, the measurement system automatically adjusts to zero;
2.2 Automatic stop: After the sample is broken, the moving beam will automatically stop;
2.3 Automatic calibration: The system can automatically realize the calibration of indicating value accuracy;
2.4 Automatic storage: automatic storage of test data and test conditions to prevent data loss caused by forgetting the storage;
2.5 Automatic speed change: During the test, the moving speed of the beam can be changed automatically according to the pre-set program, or manually;
2.6 Automatic control: According to the test requirements, test speed, displacement, strain and other closed-loop control mode can be selected;
2.7 Program control: The user can customize the multi-step control program according to the needs and according to certain programming specifications.
2.8 Automatic saving: After the test, the test data and curves are automatically saved;
2.9 Batch test: for the samples with the same parameters, a batch of tests can be completed successively after one setting;
2.10 Automatic analysis: Automatically analyze test data according to relevant standard requirements.
2.11 Curve traversal: After the test is completed, the curve can be analyzed and the data corresponding to each point on the test curve can be found with the mouse;
2.12 Curve selection: stress-strain, force-displacement, force-time, displacement-time curves can be selected according to needs for display and printing; And it can clearly reflect the failure process of the sample under the action of tension and the data analysis of each point of the sample.
2.13 Automatic analysis: Any section of the test curve can be locally amplified.
2.14 Batch processing: Summarize and compare multiple test data and curves and display and print them.
2.15 Test report: Multiple report editing methods (ExselWorld Advanced customization), users can edit the report format according to their needs
2.16 Limit protection: with program-controlled and mechanical limit protection;
2.17 Overload protection: When the load exceeds the rated value 2% ~ 10%, automatic stop;
2.18 LAN connection: The data interface is retained and can be directly connected to the integrated information management network of the laboratory.

 English
 Español
 Português
 русский
 français
 日本語
日本語
 Deutsch
 Italiano
 Nederlands
 ไทย
ไทย
 Polski
 한국어
한국어
 Svenska
 magyar
 Malay
Malay
 বাংলা
বাংলা
 Dansk
Dansk
 Suomi
Suomi
 Pilipino
 Gaeilge
 عربى
عربى
 norsk
norsk
 اردو
اردو
 čeština
 Ελληνικά
 Українська
 فارسی
فارسی
 தமிழ்
தமிழ்
 తెలుగు
 नेपाली
 Burmese
 български
 ລາວ
ລາວ
 Latine
 Қазақ
Қазақ
 Euskal
 Azərbaycan
 slovenský
 Македонски
 Lietuvos
 Eesti Keel
 Română
 Slovenski
 मराठी
मराठी
 Српски
 עִברִית
 icelandic
 Беларус
 Монгол хэл
 Javanese


