1. Product introduction
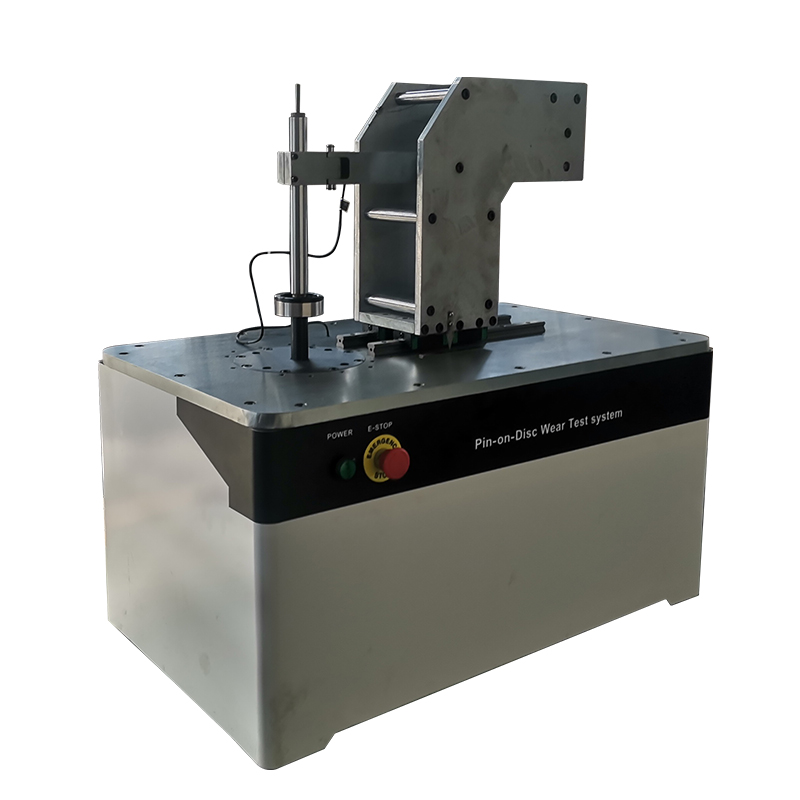
The test machine is mainly used to determine the frictional properties of slide rails and specific metals at approximate PV values. In addition, the machine can also be used to evaluate the friction and wear performance of lubricants, metals, plastics, coatings, rubber, ceramics and other materials under the condition of high linear velocity. The friction sub-form is mainly point and surface, and the surface contact friction.

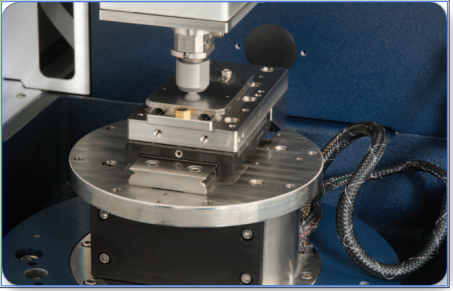
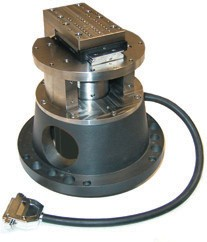
(normal temperature reciprocating tooling)


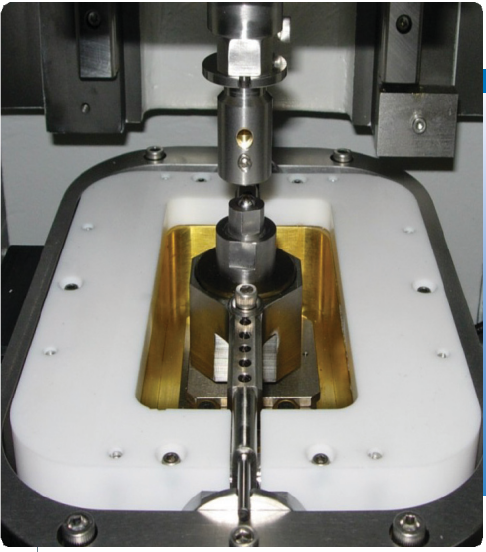
(Wear tool with oil bath heating device)

(Note: The figure above is the normal temperature small load plane wear tooling)


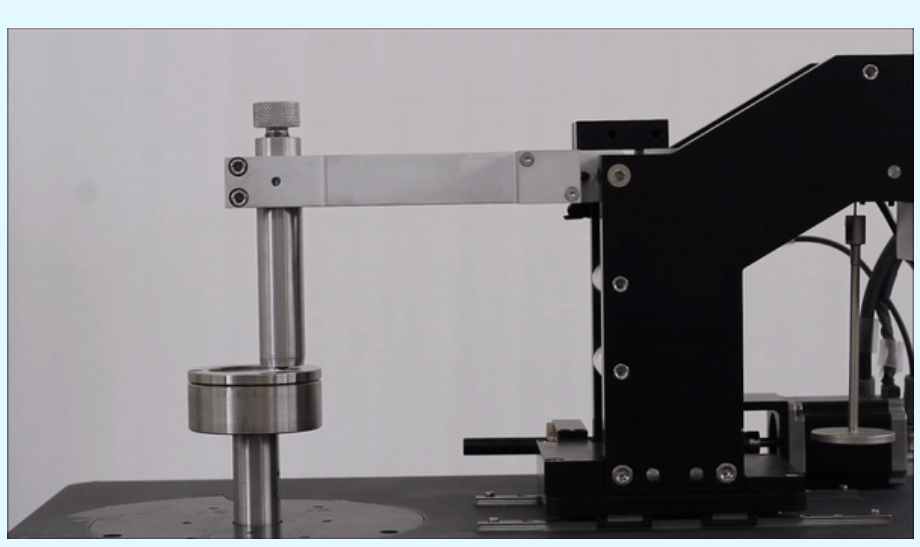
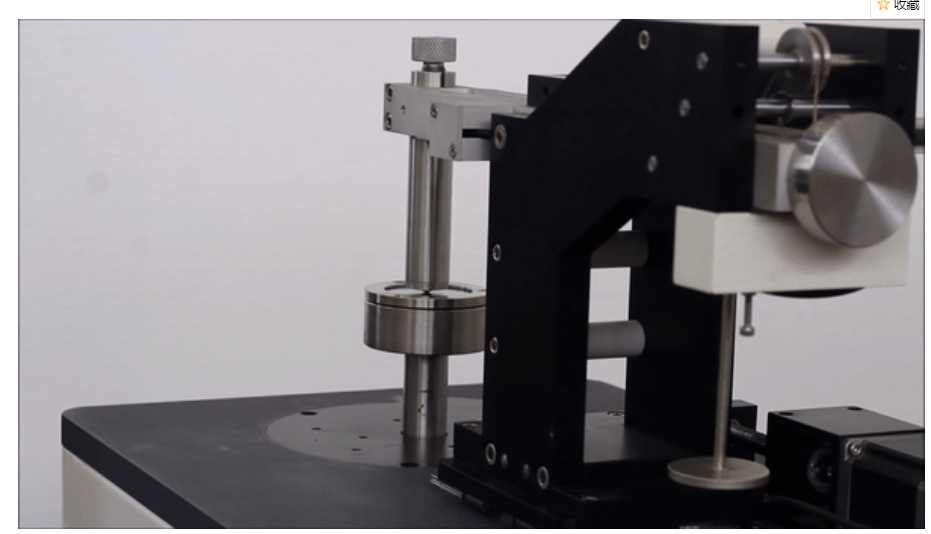
Pin and disk experiment
2. Main technical specifications and technical parameters
2.1 Normal loading: 0.1-100N
2.2 Normal loading, and can realize the long-term maintenance of the test force;
2.3 Normal force control accuracy: ±0.5%
2.4 Temperature control range: -20°-100 ° C, infrared non-contact measurement; (optional)
2.5 Clamping range :33-160mm, adjustable
2.6 Number of sales stations: 1
2.7 Spindle speed: 0.1-1200r/min
2.8 Maximum line speed 1000mm/min(customized)
2.9 Continuous long time operation, machine noise ≤ 40dB;
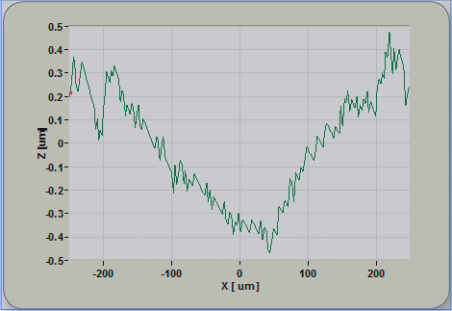
2.10 Data generated during operation, such as friction force, reciprocating frequency, reciprocating amplitude, load fluctuation, sample temperature, etc., are collected and processed by computer in real time, and test results are given in the form of data charts and given in different colors under the same time coordinate: Load-time, friction-time, temperature-time, displacement-time four curves, and can be converted into the corresponding "parameter-distance curve", real-time display on the computer screen. All data is recorded by the computer for reference and printing, and the data can be converted to Excel format.
3. Structure principle of testing machine
1. Main technical requirements and satisfaction: (horizontal motion assembly selection)
In order to meet the technical requirements of 2, the product is intended to adopt the following scheme
3.1 The testing machine is composed of normal loading system, horizontal lever, torque force measuring system, temperature control system, cooling and lubrication device, electrical control cabinet and computer real-time data acquisition and control system (including software);
The main body of the testing machine is mainly composed of the main body frame, horizontal frame, normal spindle and its driving system, test force application device, friction torque and displacement high-precision sensing and measuring system, test force measurement and friction temperature measurement system, etc. The normal loading system of the testing machine adopts lever + weight, which has high accuracy and good reliability. Horizontal loading system using linear motor as the loading system, high control accuracy, corresponding fast, the host frame using larger quality cast iron, high natural frequency, shock absorption and seismic performance is good, the box seat is also the use of iron parts after CNC boring the electric spindle firmly locked in the box seat, which can improve the stability of loading work.
3.2 The function of the cooling and lubrication device is mainly to cool and lubricate the actuator so that the actuator can work stably and reliably for a long time. (Suitable for oil testing)
3.3 The computer real-time data acquisition and data processing control system is an intelligent system with the specially prepared control software to manually set, collect, monitor and output the test parameters, which can avoid the artificial influence of the test results and improve the accuracy of the test results.
3.5 The measurement of friction force adopts the high-precision force sensor of American Shiquan Company;
3.6 Under the condition of full lubrication and cooling, the product can fully meet the technical requirements of continuous operation for 1 hour.
3.7 This product can be tested on "pin-disk", "ring-disk", "ring-block" and other friction pairs, and can work under dry friction and oil lubrication; The form and size of the friction pair can be designed according to user requirements, easy to operate, easy to load and unload samples, and attached special tools.
3.8 The test temperature was measured by infrared non-contact thermometry produced by Chinese Academy of Sciences.
3.9 According to technical requirements, real-time acquisition and processing of test parameters such as friction torque, load fluctuation and friction temperature rise generated during test operation are carried out through intelligent instruments and specially prepared computer software, and corresponding test curves are given. Test data can be saved and converted into Excel tables for reference and printable output.
4. Configure the list
| Item |
Name |
Specifications&Model |
Quantity |
|
| 1 |
Host loading rack |
200N |
1 set |
autonomous |
| 2 |
Tooling |
30-160 |
1 set |
final delivery size, negotiation processing |
| 3 |
Linear guide rail (4 sliders) |
HGH25CA |
2 pcs |
HIWIN |
| 4 |
Normal weight |
|
5 pcs |
0.1 grade |
| 5 |
Friction sensor |
STC10KG |
1 pc |
world bolt |
| 6 |
Servo motor |
MOTO AC |
1 set |
Hangzhou Jiugu |
| 7 |
Planetary reducer |
KAB-050 |
1 set |
Taiwan Eco |
| 8 |
Environment tank + fire extinguishing system |
-20-100 |
1 set |
optional |
| 9 |
Temperature sensor |
PT100 |
1 set |
optional |
| 10 |
Electric control system assembly |
|
1 set |
autonomous |
| 11 |
Measurement and control system and software |
|
1 set |
autonomous |
| 12 |
Computer |
|
1 set |
HP |
| 13 |
LED display 19 " |
V139 |
1 set |
HP/Asus |
| 14 |
A4 printer |
1112 |
1 set |
HP |
| 15 |
control box (weak current control) |
|
1 pc |
autonomous |
| 16 |
Tooling |
According to user requirements, one set of test tooling is provided. |
| 17 |
Document |
Operation instructions, software instructions, and certificates |
5. After-sales service
Our company provides one-year free warranty service and lifetime maintenance service for our products.
Our company implements computerized management of user files, all product debugging, maintenance, replacement of parts, fault complaints, etc. are continuously recorded in user files, dynamic monitoring and management of product running status;
After-sales service personnel will call back or visit customers from time to time every year to understand the use of products and check the operation of the equipment, and guide the maintenance and maintenance of the equipment;
After receiving the user's fault call, 4-8 hours to determine the cause of the fault and propose a solution, 24-72 hours to reach the user site, troubleshoot;
During the warranty period, when the equipment cannot be used normally due to untimely maintenance, the warranty period shall be extended correspondingly with the length of the downtime.

 English
 Español
 Português
 русский
 français
 日本語
日本語
 Deutsch
 Italiano
 Nederlands
 ไทย
ไทย
 Polski
 한국어
한국어
 Svenska
 magyar
 Malay
Malay
 বাংলা
বাংলা
 Dansk
Dansk
 Suomi
Suomi
 Pilipino
 Gaeilge
 عربى
عربى
 norsk
norsk
 اردو
اردو
 čeština
 Ελληνικά
 Українська
 فارسی
فارسی
 தமிழ்
தமிழ்
 తెలుగు
 नेपाली
 Burmese
 български
 ລາວ
ລາວ
 Latine
 Қазақ
Қазақ
 Euskal
 Azərbaycan
 slovenský
 Македонски
 Lietuvos
 Eesti Keel
 Română
 Slovenski
 मराठी
मराठी
 Српски
 עִברִית
 icelandic
 Беларус
 Монгол хэл
 Javanese


